Difference between revisions of "Microphones"
Andrewcheng (talk | contribs) |
Andrewcheng (talk | contribs) |
||
| Line 5: | Line 5: | ||
On the computer itself, you can use Praat or an [[Guide to OpenSesame|OpenSesame]] script to start and stop recording. |
On the computer itself, you can use Praat or an [[Guide to OpenSesame|OpenSesame]] script to start and stop recording. |
||
| − | [[Guide to lab spaces#Room 57|SpARCL]] has two lapel microphones and a boom microphone. To use any of these microphones, both the desktop computer (a Mac) and the pre-amp must be turned on. The pre-amp is the long black box to the right of the Mac. |
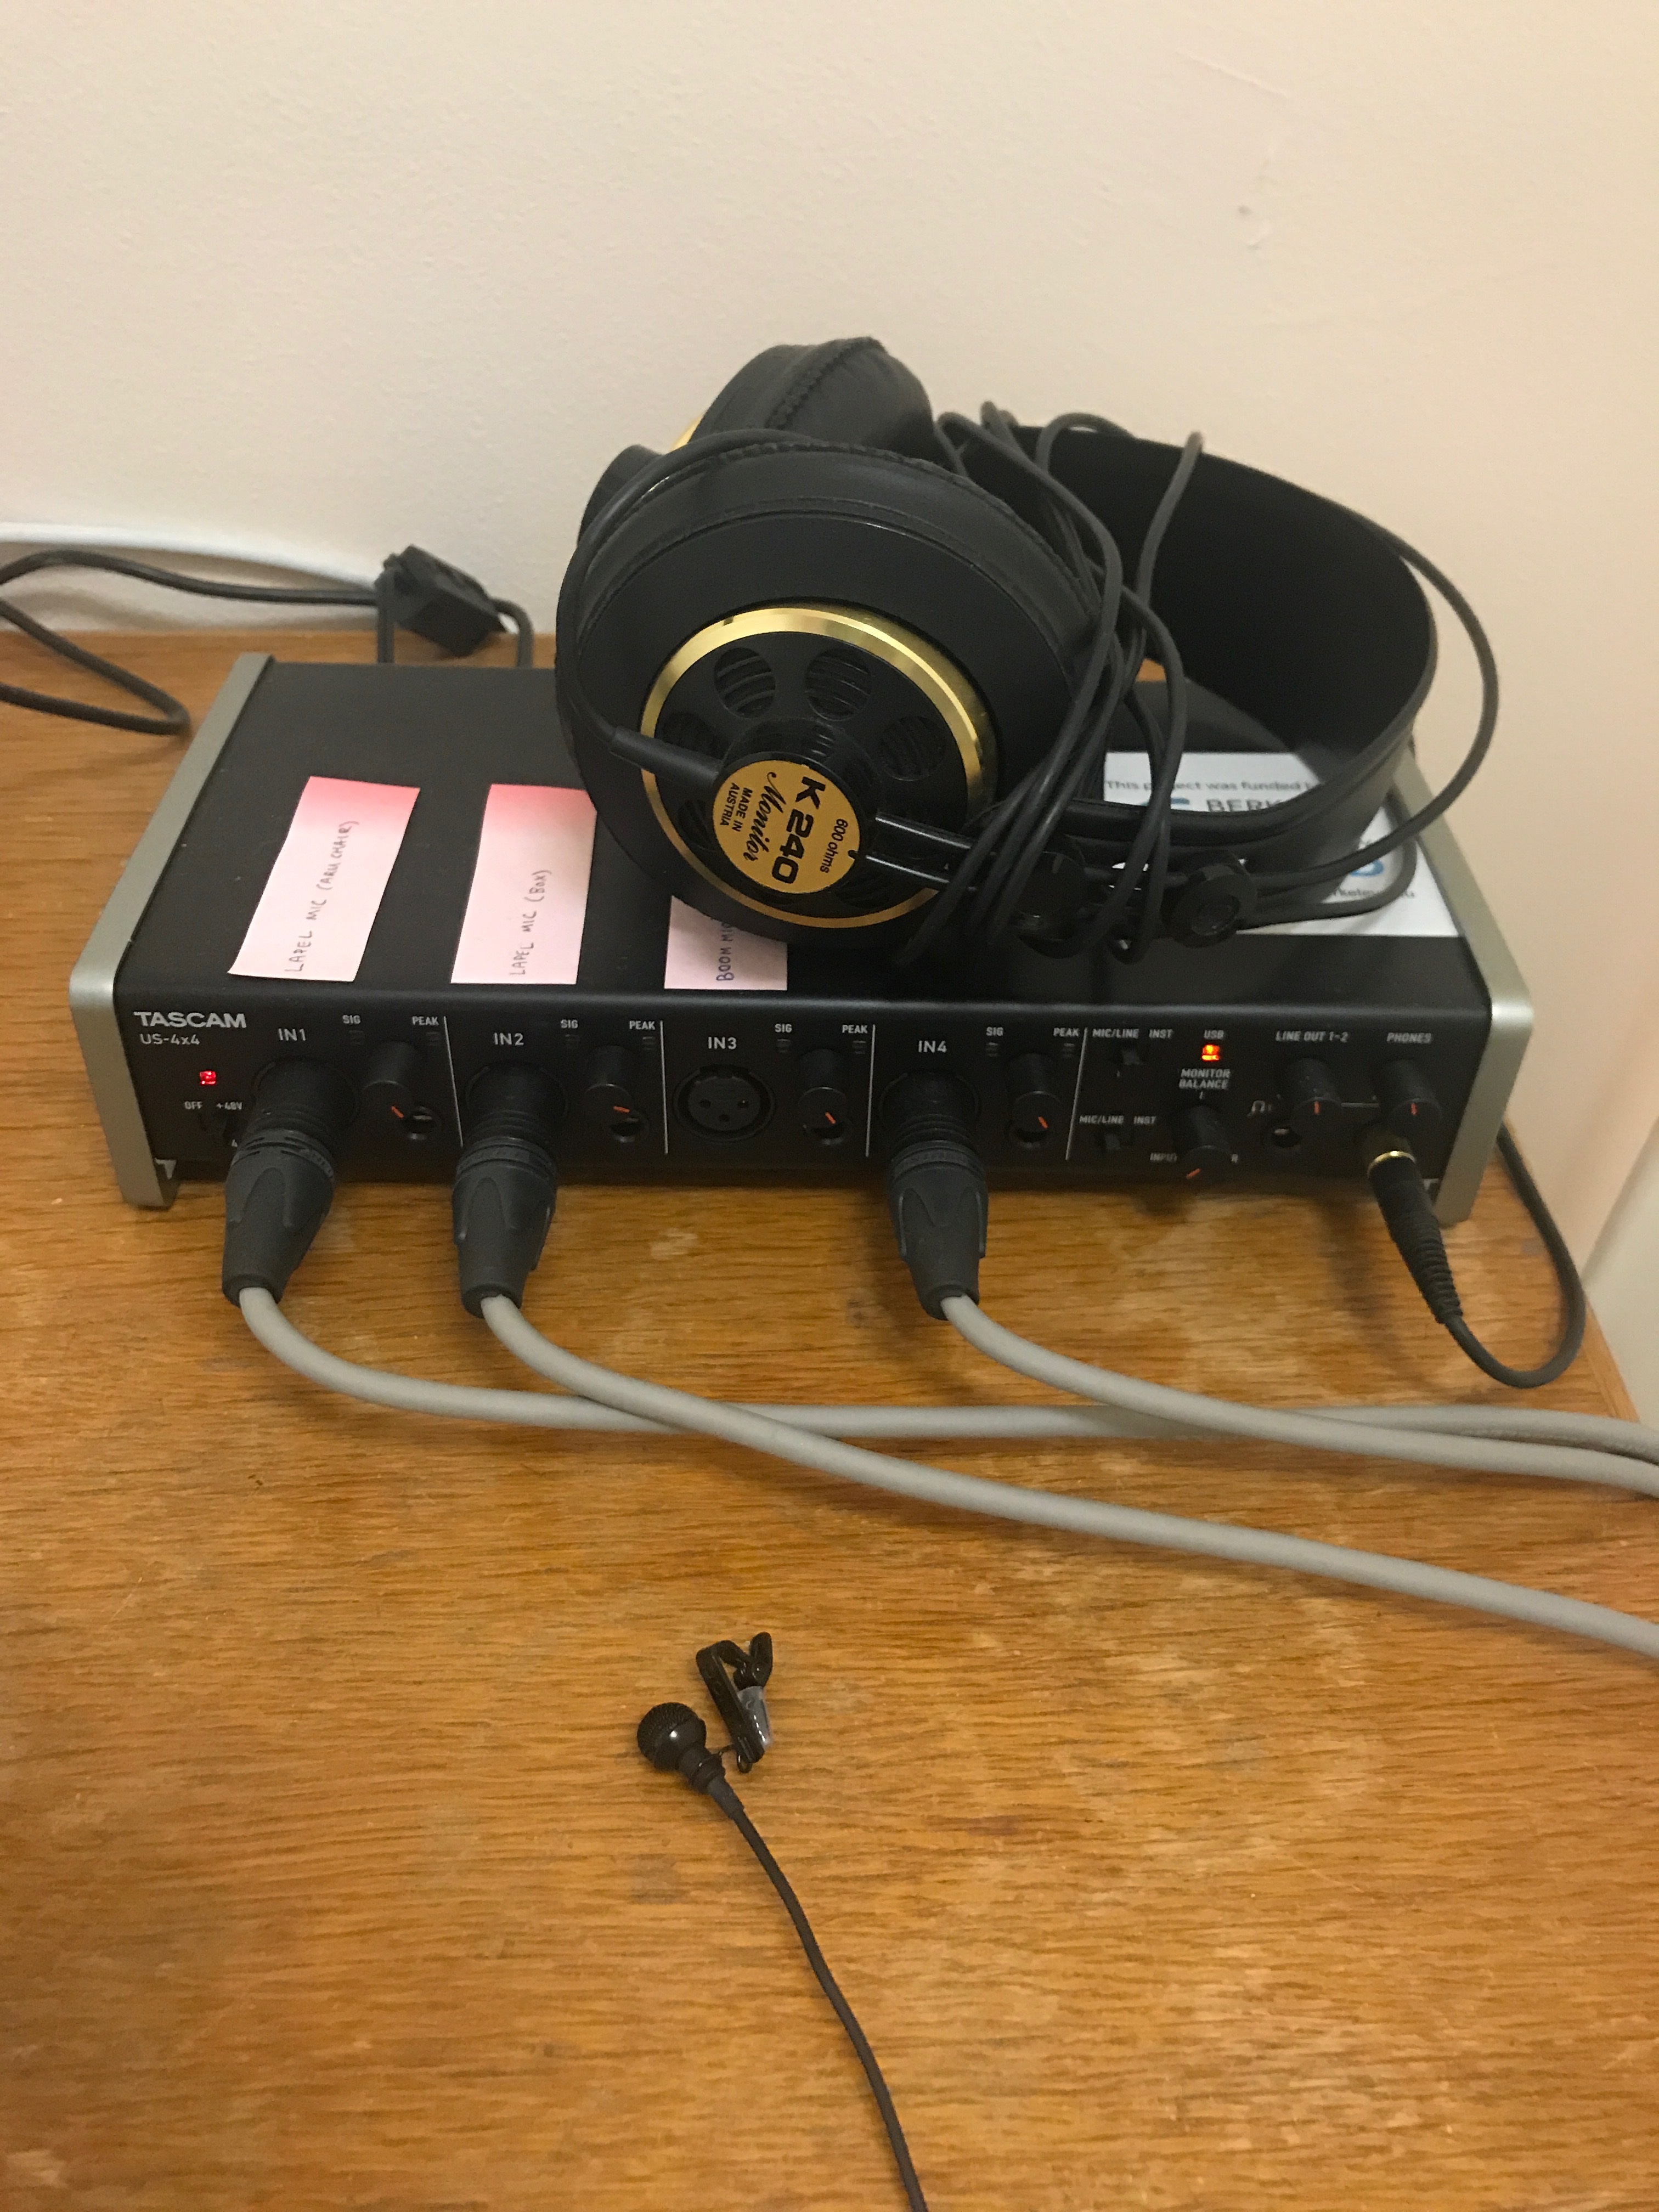
+ | [[Guide to lab spaces#Room 57|SpARCL]] has two lapel microphones and a boom microphone. To use any of these microphones, both the desktop computer (a Mac) and the pre-amp must be turned on. The pre-amp is the long black box to the right of the Mac. The three inputs are labeled with post-its to correspond to Lapel 1, Lapel 2, and the boom microphone. |
[[File:TASCAM.jpg|300px|TASCAM pre-amp]] |
[[File:TASCAM.jpg|300px|TASCAM pre-amp]] |
||
On the computer itself, you can use Praat, [[Guide to OpenSesame|OpenSesame]], or Audacity to start and stop recording. |
On the computer itself, you can use Praat, [[Guide to OpenSesame|OpenSesame]], or Audacity to start and stop recording. |
||
| + | |||
| + | == Tips == |
||
| + | Always make a test recording before you begin a real recording with a subject! Open up Praat to make a short test recording. Make sure there is no clipping. If there is clipping, the speaker is too close to the microphone (or speaking too loudly). Subjects should sit at least one hand-width away from the microphones on stands, and place lapel mics below the collarbone on a shirt (making sure the microphone does not rub on any clothing during recording). |
||
Revision as of 14:58, 30 November 2017
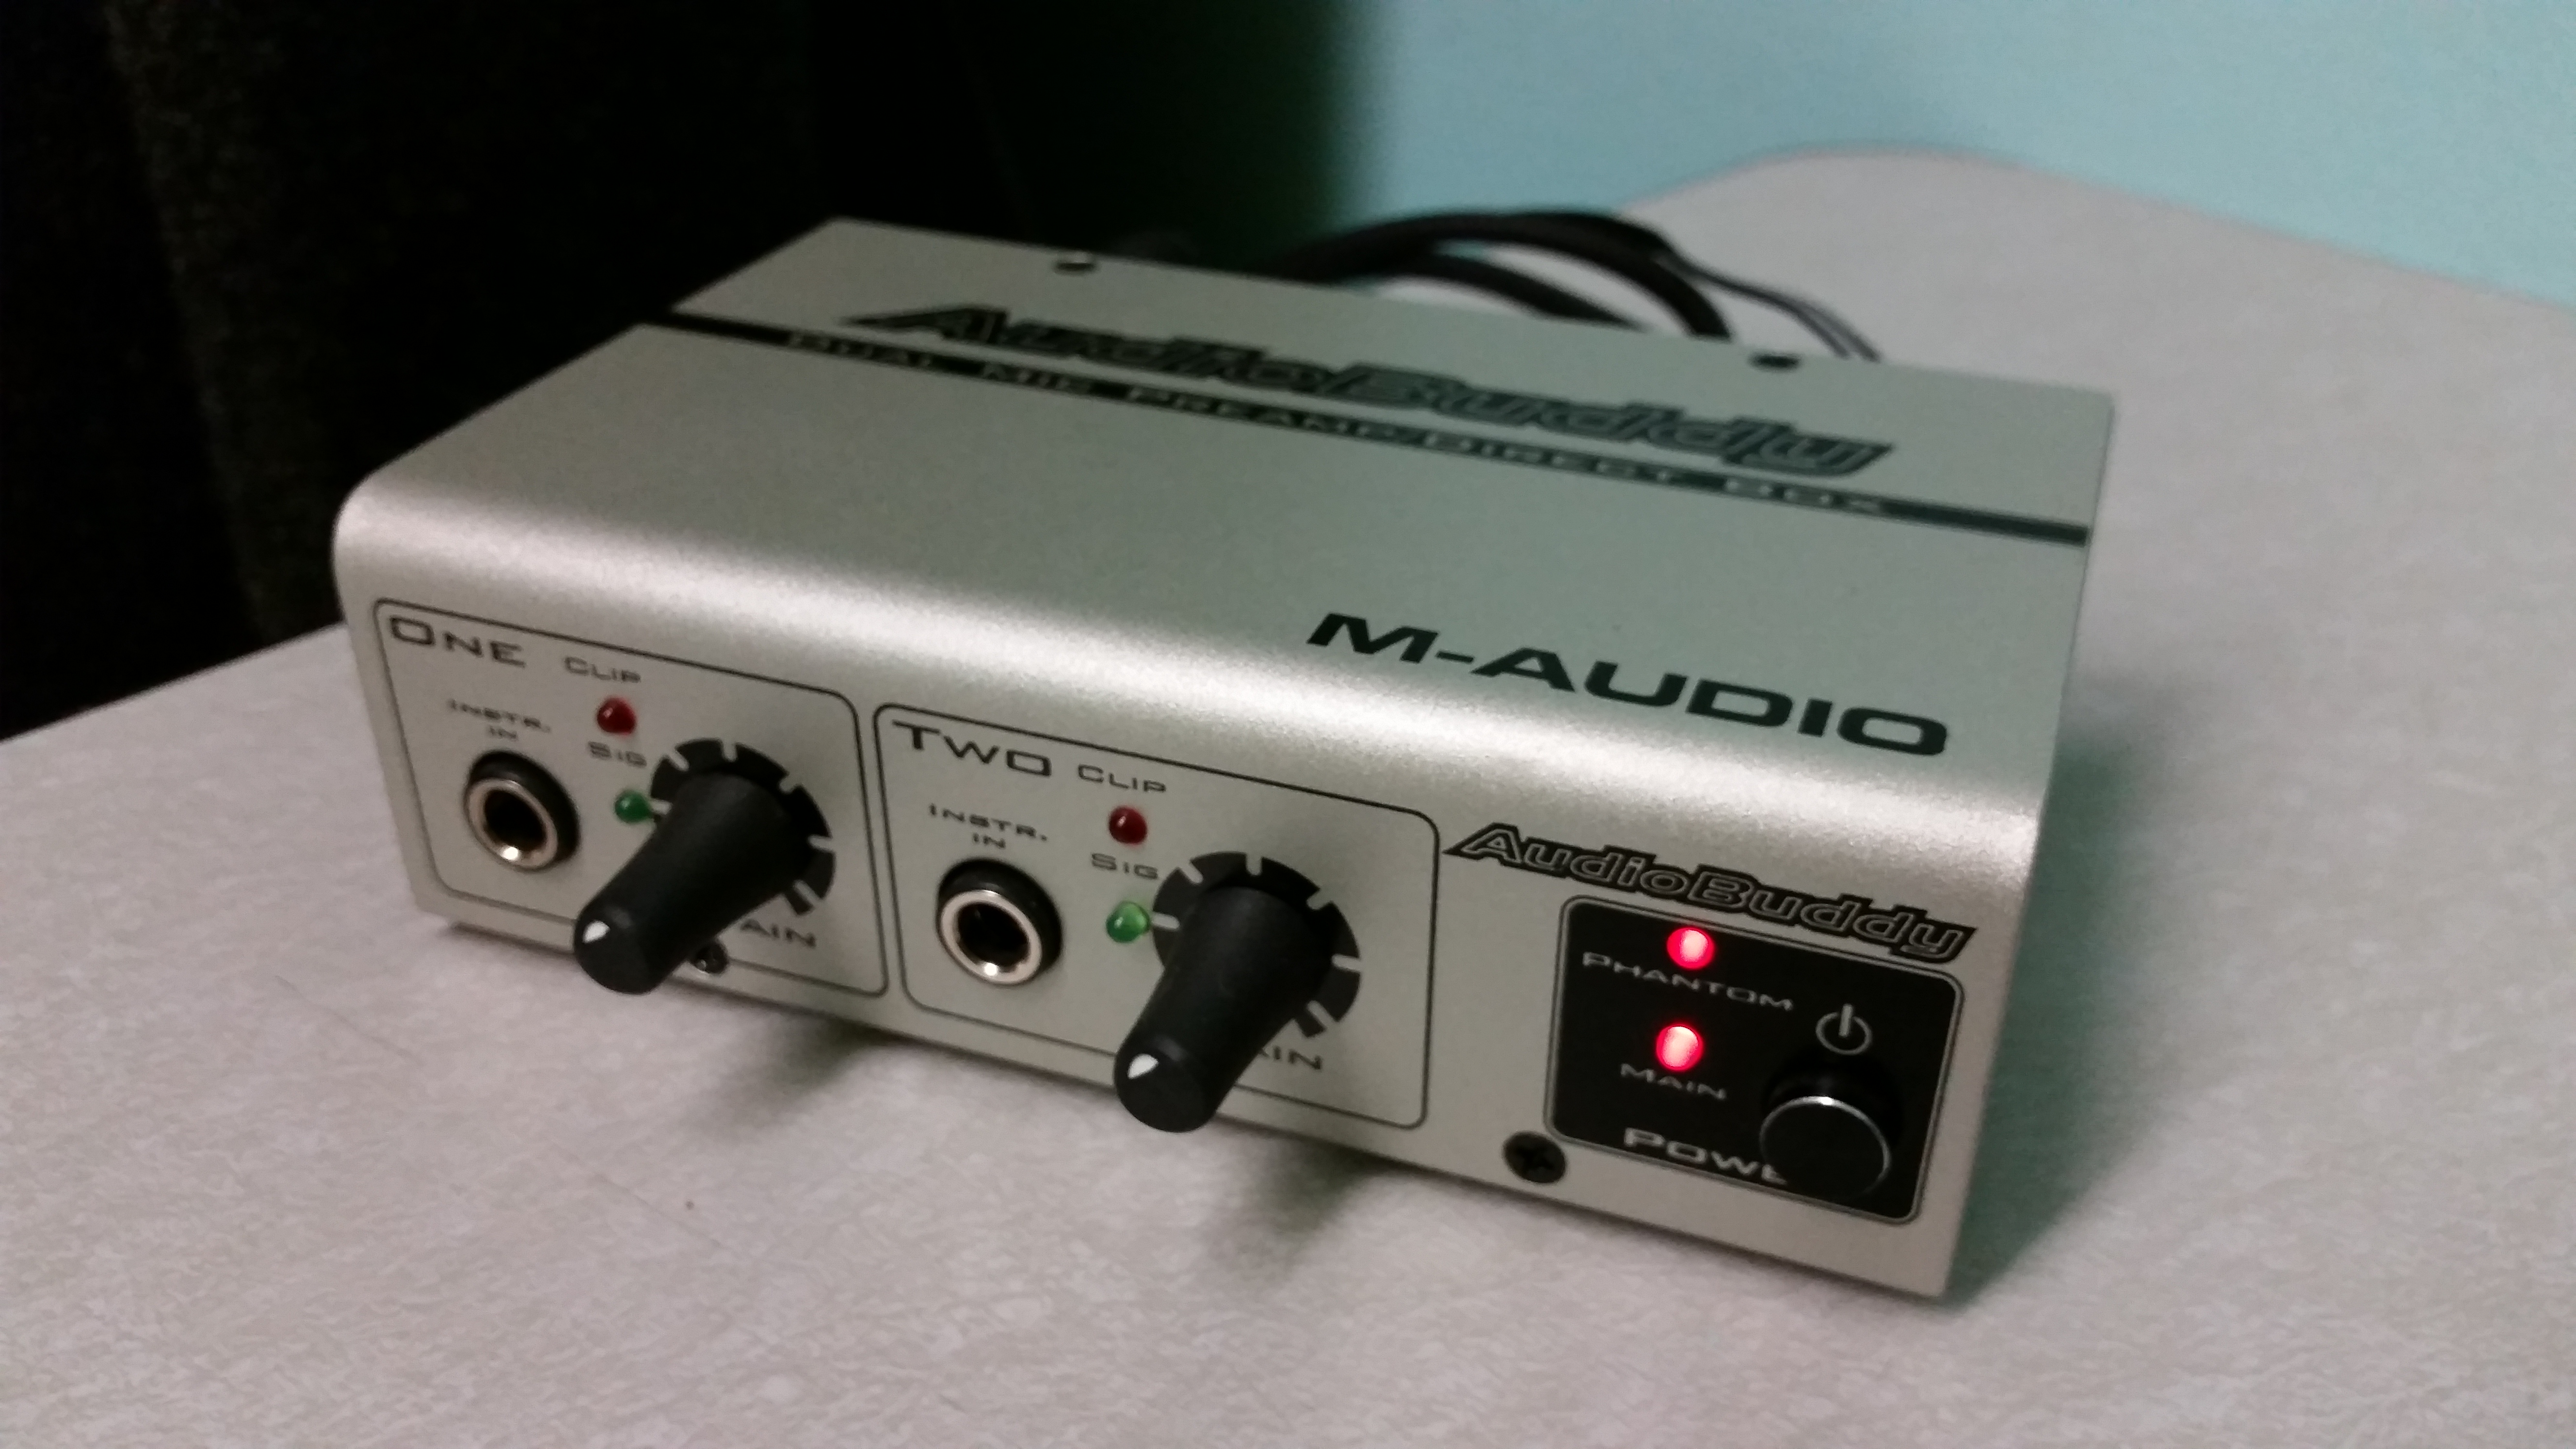
Room 53 has an AKG C3000 microphone inside its soundbooth. To use the microphone, both the soundbooth computer (a Windows machine located outside the soundbooth) and the pre-amp must be turned on. The pre-amp is the small box on the side desk labeled "AudioBuddy". Press the Power button on the front to turn it on, and you should see two red lights. If the Phantom red light is not on, press the Phantom Power button in the back to turn on phantom power. If you don't see two red lights, the microphone will not record anything!
On the computer itself, you can use Praat or an OpenSesame script to start and stop recording.
SpARCL has two lapel microphones and a boom microphone. To use any of these microphones, both the desktop computer (a Mac) and the pre-amp must be turned on. The pre-amp is the long black box to the right of the Mac. The three inputs are labeled with post-its to correspond to Lapel 1, Lapel 2, and the boom microphone.
On the computer itself, you can use Praat, OpenSesame, or Audacity to start and stop recording.
Tips
Always make a test recording before you begin a real recording with a subject! Open up Praat to make a short test recording. Make sure there is no clipping. If there is clipping, the speaker is too close to the microphone (or speaking too loudly). Subjects should sit at least one hand-width away from the microphones on stands, and place lapel mics below the collarbone on a shirt (making sure the microphone does not rub on any clothing during recording).

